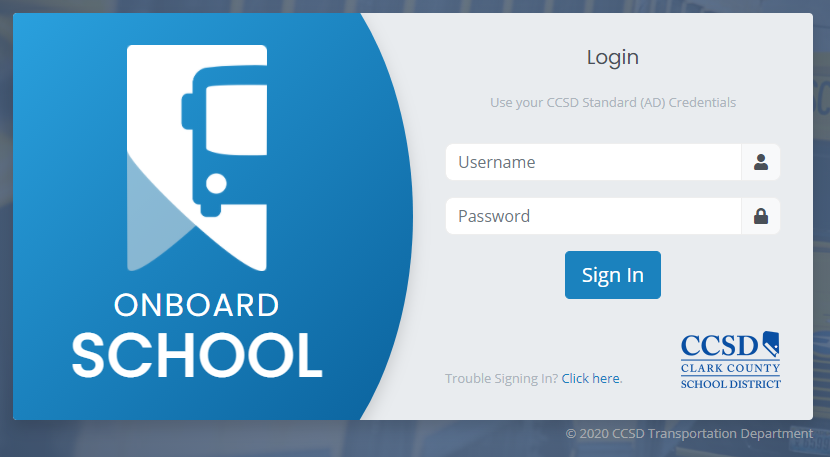
Sign in to Onboard School using your standard CCSD Active Directory credentials, which are the same that are used for HCM and Gmail.
If you cannot remember your password, use the utility https://myaccount.ccsd.net to reset your password.
Permissions
There are some positions within CCSD that get permission to view all information for all schools. Some examples include principals, assistant principals, superintendents, etc. If you hold one of these positions, you will automatically have access to all schools when logging in. These employees will also be able to manage the permissions other staff have for different schools.
Some employees in certain positions, such as office managers, will automatically get administrative permissions for the school at which they are assigned. They are able to manage the permissions other staff have at their assigned schools.
If you are not in a position that grants you any automatic permissions, press the Request School Access button on the Dashboard.
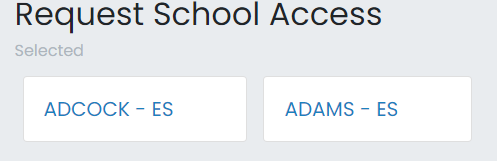
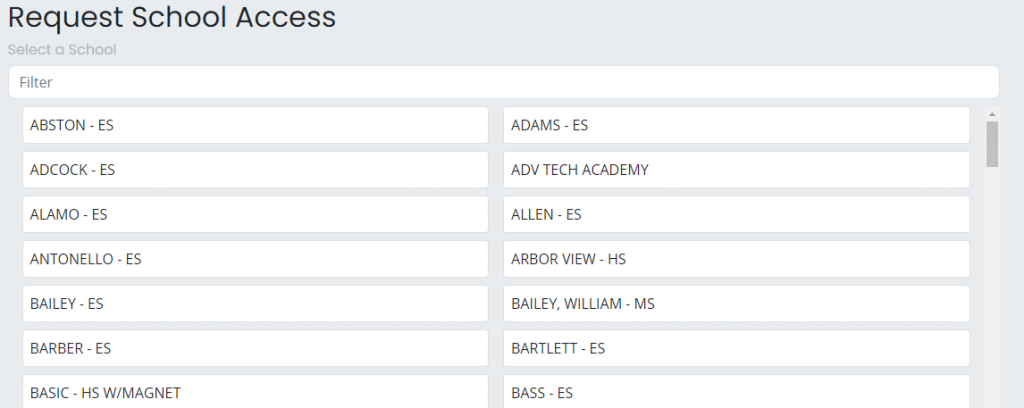
You will see a list of all the schools/sites available in the application. You may select one or more and then press the “Request” button to submit a request for permissions to view those sites.
These permission requests can be approved by your principal, office manager, or even Transportation staff. These users can also revoke permissions.
Accessing Schools
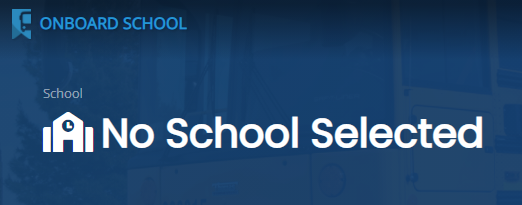
Once you have access to one or more schools, click on the link with the school icon () at the top in order to select the school you would like to view transportation information for.
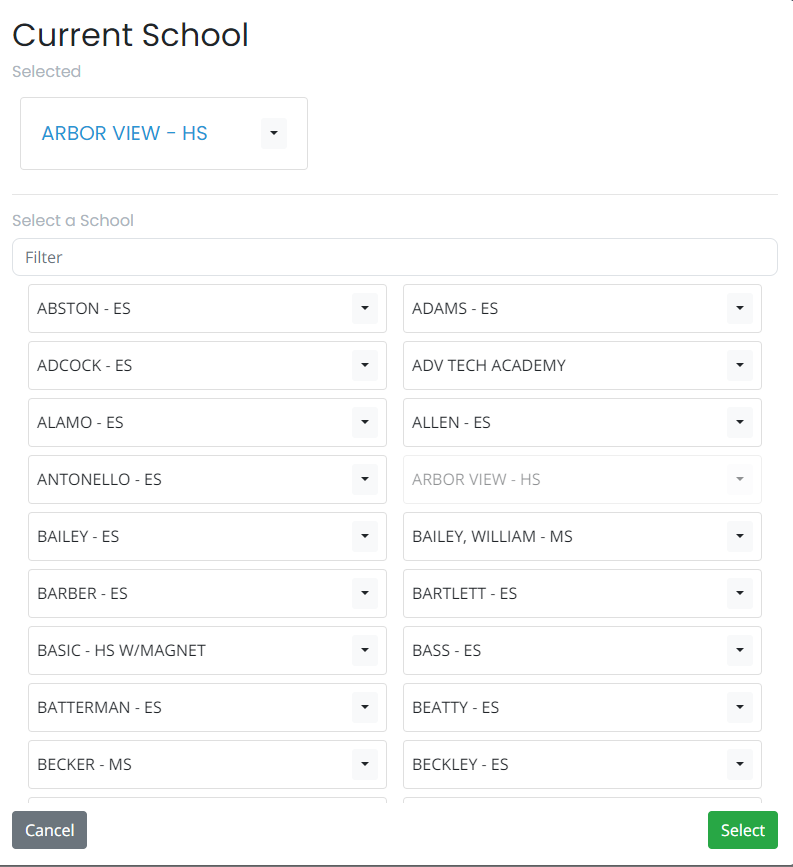
Choose the school you would like to open. Use the Filter box if you’d like to search through the list. Once you have selected one, press the Select button at the bottom.
Once you have selected a school, you can click the same link (the school name with the school icon) to open this dialog.
Sister SchoolsSome schools are linked together because they share buses and/or routes. These linked schools are able to see one another's routes as well.
Working Date
Transportation services vary and can change from day to day. Specific routes may differ depending on the day of the week, some students ride only on certain days, and driver absences or coverage can shift daily.
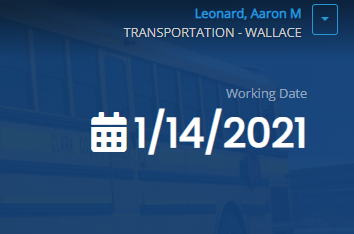
Because of this, the Working Date feature is essential. In Onboard School, changing the Working Date allows you to view schedules and routes for any given day—whether you need past records, real-time updates for today, or upcoming service details.
The app defaults to today’s date upon opening. To select another day, click the calendar icon () next to the date.
Take NoteFeel like you're seeing the wrong information? Make sure that the selected Working Date is correct!
Routes Tab
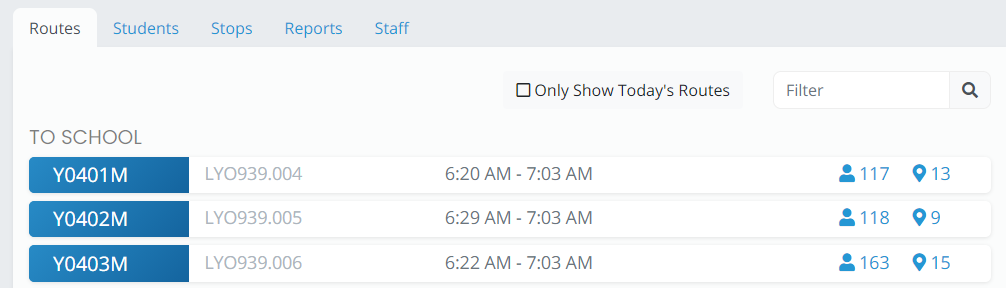
Once a school is selected, you will have access to all of the routes of a particular school on the selected Working Date.
Each route will show you the Route label, Run label, first stop time, last stop time, passenger count, and stop count. You can click on any of the Route rows in order to view details of that route.
You will see all routes that are effective on the given Working Date. Routes that are scheduled by the Transportation Department to run on that day (tiered) will show in blue. Routes that are effective within the given time frame, but not actually running on the specific Working Date, will show in gray and have an icon next to their times.
Route Details, Map, and Tracking
When viewing an individual route page, there are many details available to you.
Top Row
Route name, run name, revision, effective dates, and days running. As these runs are changed throughout the year, even with only minor changes, new revisions of the runs are made. Each revision takes effect on a specified date and remains effective until its end date, or indefinitely if no end date is specified.
Second Row
The assigned driver for that date will be indicated. If there is no driver, or if the run has been split up between multiple drivers, that will be indicated here. This row also contains the first and last stop times, as well as the time the run officially starts and ends.
Maps and Stops
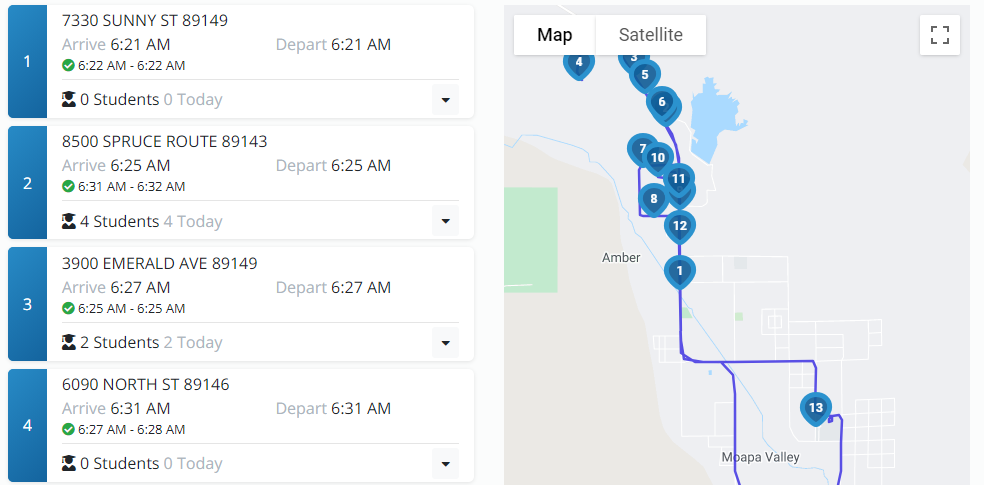
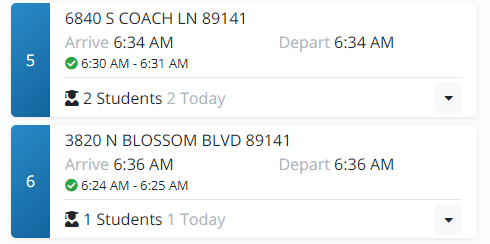
Each stop on the run will be displayed on the left, with a map of all the stops on the right. The address of each stop is given, as well as the time that the bus is scheduled to arrive and depart from that stop. There is also a count of the students assigned to the stop. The first number shows the total number of students assigned to the stop; the second shows the number assigned for that specific day.
Tracking
If tracking is available, tracking information will be indicated on both the map and the stop list. If the bus has not arrived at a stop yet, an ETA to the stop will be displayed. If the bus has visited a stop, the times the bus arrived and departed will be displayed.
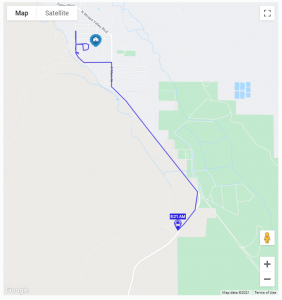
The path of the bus is shown on the map view. This is a comprehensive view of GPS data from the bus from the start time of the run until the end time. You can see the path the bus has taken as well as the current location represented by a bus icon. The time that the bus was at that location is shown over the bus icon.
If the bus is currently running, the tracking information will be updated live as GPS data comes in.